To stay organized with freelance projects, I built an automated system using Microsoft Teams, SharePoint, Lists, and Power Automate. This setup makes it easier to manage client communication, keep track of invoices, and automate tasks. Not only that, it centralizes all my documentation and learning resources in one place.
Microsoft Teams: Client Collaboration & Project Management
Purpose: Teams serves as my central hub for client communication, file sharing, and task management.
How It Works
- Each new client gets a dedicated Teams channel inside my main MS Teams workspace.
- I invite client team members to join the channel so we can chat and collaborate.
- I use integrations to streamline workflows, including:
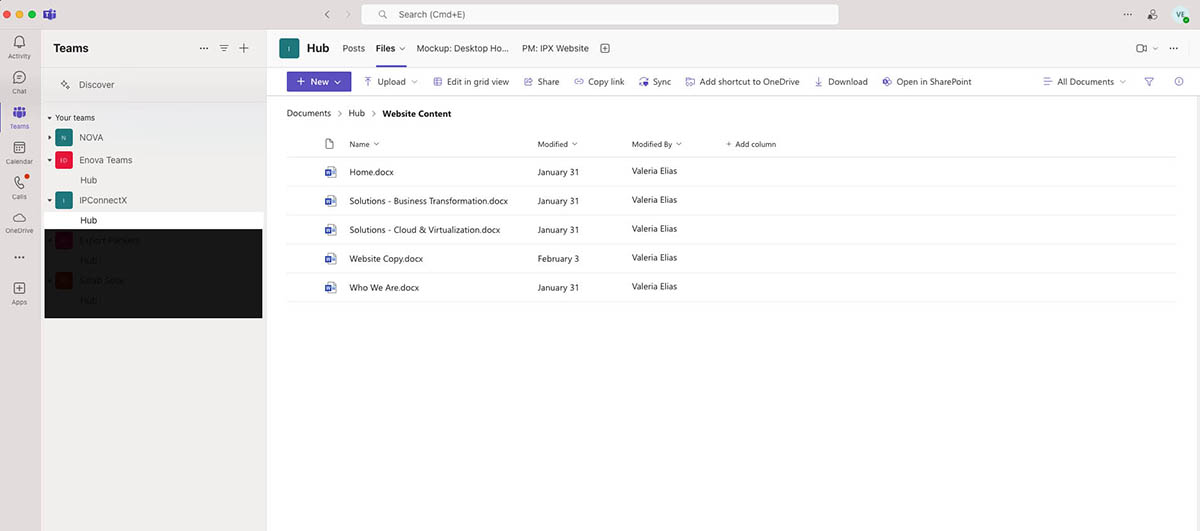
- File Sharing – Clients upload and access documents directly.
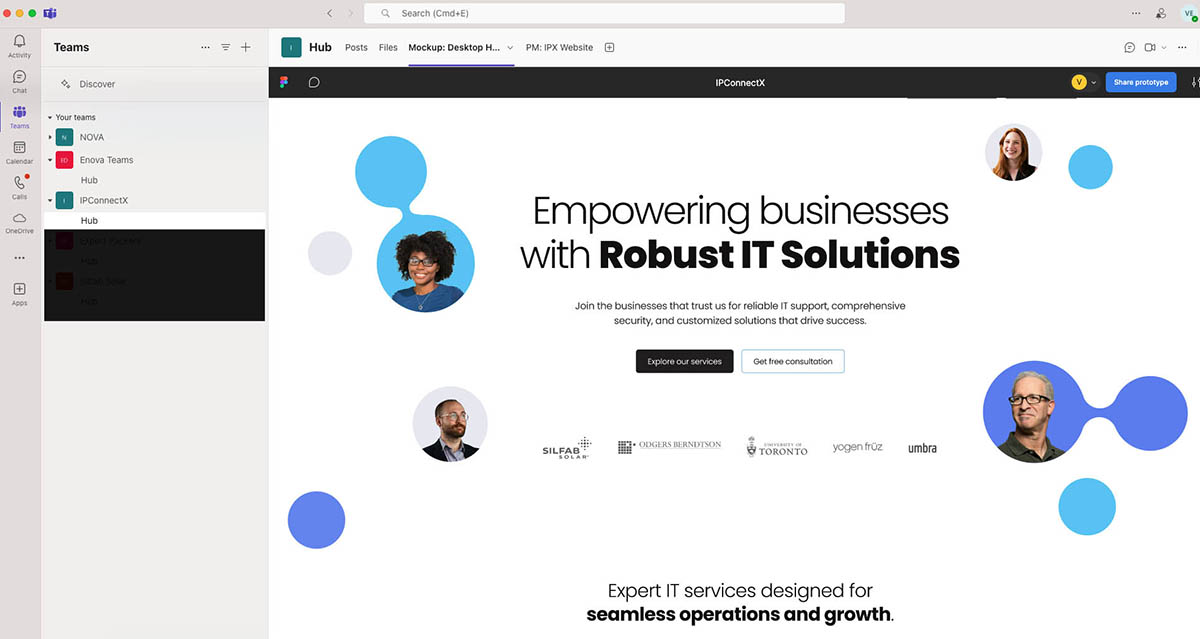
- Figma Integration – Used to share website mockups.
- Microsoft Planner – Used for task tracking.
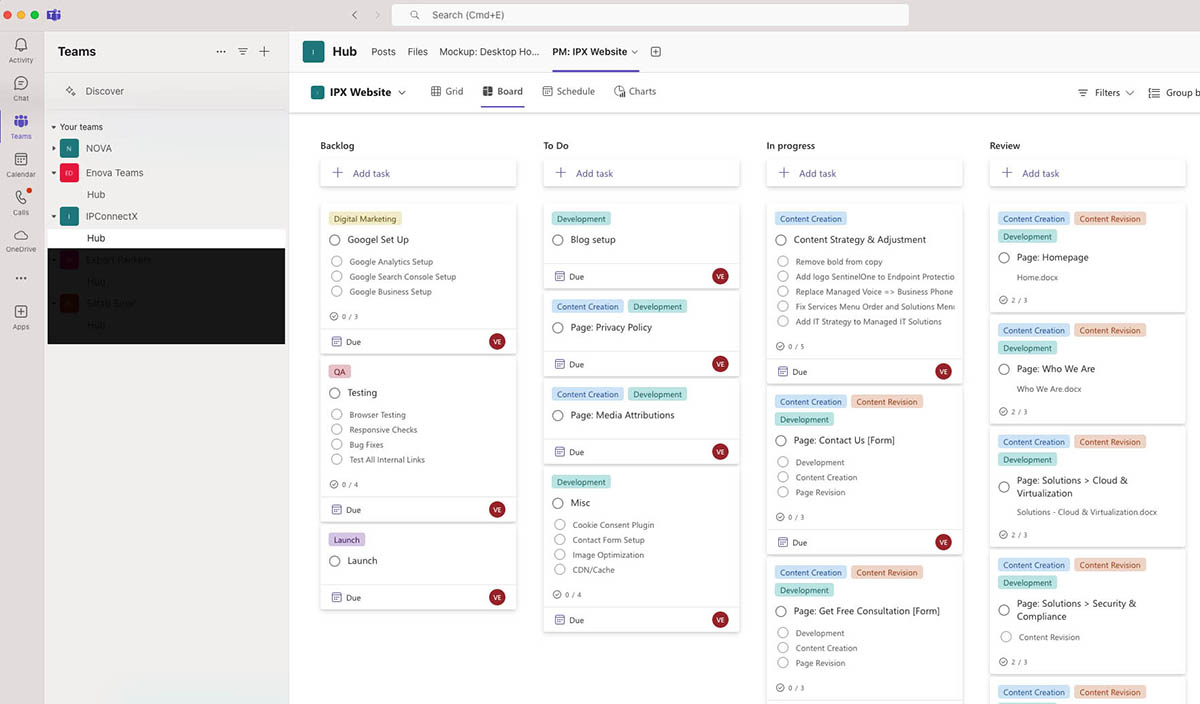
Real-World Example
For a website development project, I created a Planner board with tasks assigned to both me and the client:
- Client Tasks: Reviewing content, providing feedback, approving designs.
- My Tasks: Developing the homepage, setting up internal pages, optimizing performance.
Microsoft Lists: Organizing Client & Invoice Data
Purpose: I use MS Lists to store all my client data, contacts, and invoices. As a result, I can organize everything efficiently and automate repetitive tasks.
Key Lists & How They Work Together
1️⃣ Clients List
- Stores client names and IDs.
- Used as a lookup column for linking related data in other lists.
2️⃣ Contacts List
- Stores client team contacts (name, job title, email, phone).
- Linked to Clients List via lookup column.
- Has a “ReceiveInvoice” checkbox—used in automation to identify who gets invoice emails.
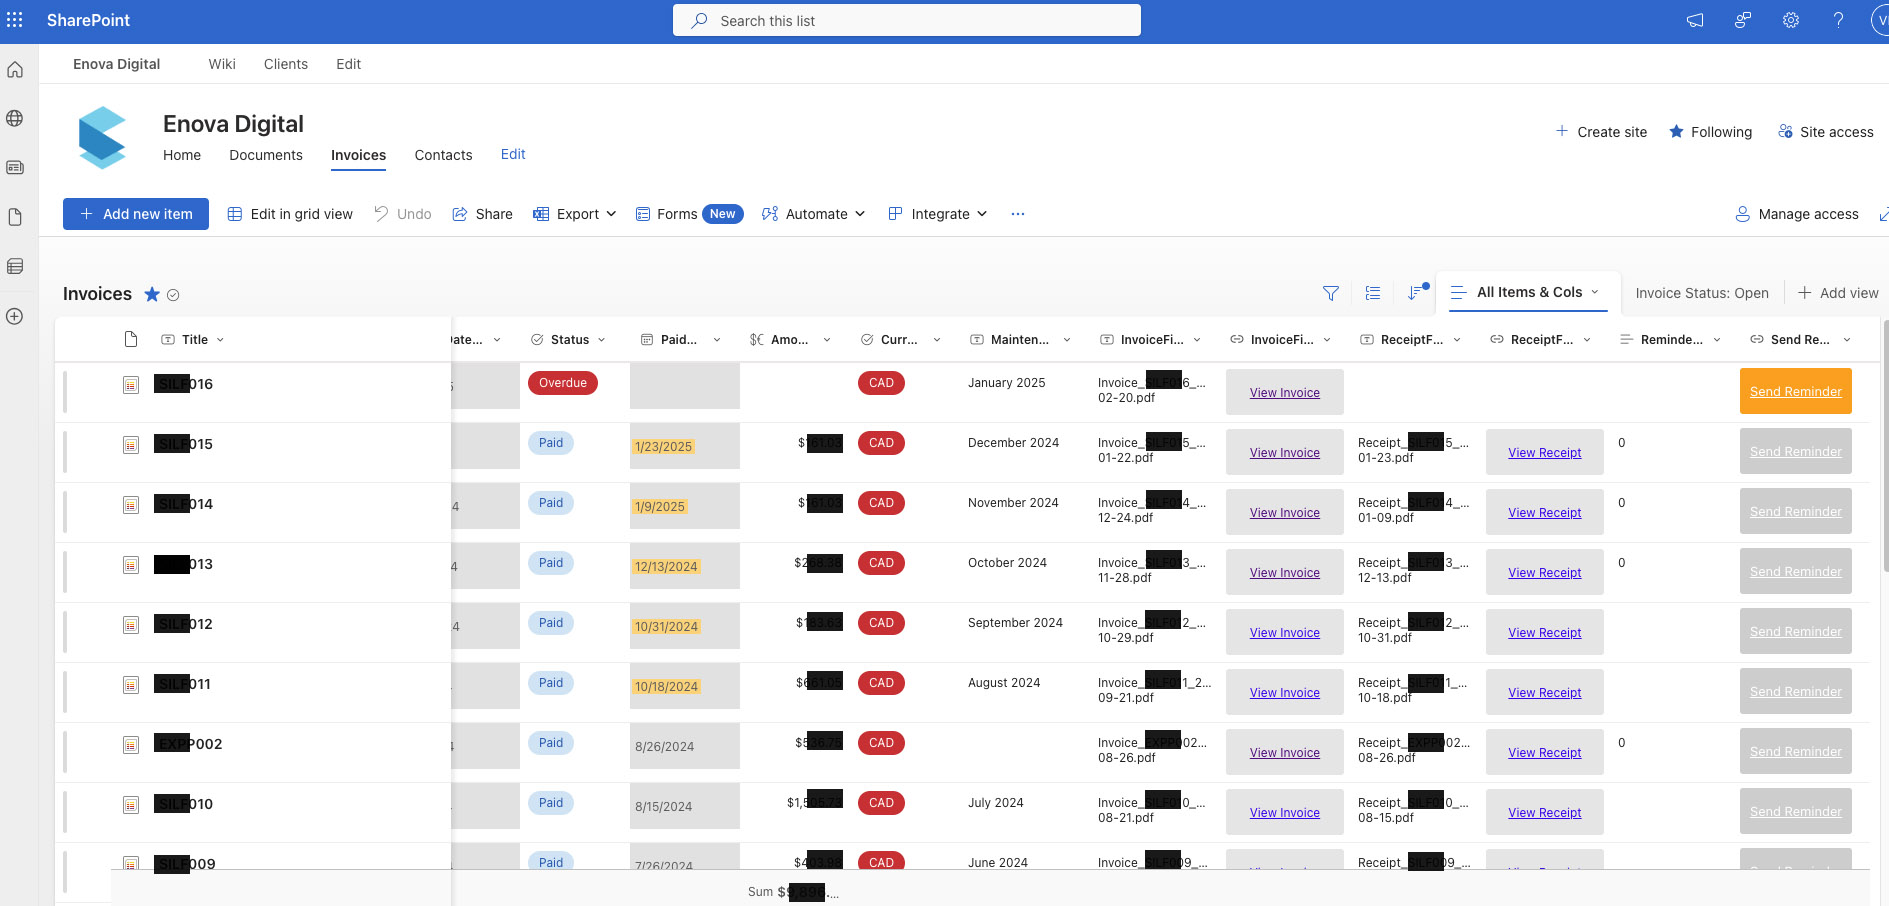
3️⃣ Invoices List
- Tracks all invoice details, including:
- Invoice ID, Due Date, Amount, Status (Waiting Validation, Open, Overdue, Paid).
- PDF links for both the invoice and receipt.
- A “Send Reminder” button (changes color when overdue).
Power Automate: Automating My Workflows
Purpose: Power Automate helps me eliminate manual tasks, improving efficiency and accuracy.
- Invoice creation
- Sending invoices and payment reminders
- Tracking overdue invoices
- Updating payment records
My Key Automation Flows
1️⃣ Create Invoice from File
- I create invoices in Wave and save them as PDFs.
- I save the file in the client’s folder in SharePoint.
- A Power Automate flow watches this folder and:
🔹 Creates a new record in the Invoices List.
🔹 Auto-fills Client ID, Invoice ID, Due Date (extracted from the filename).
🔹 Sets status to “Waiting Validation” and notifies me via email. - I manually fill in the amounts (subtotal, tax, total) and change status to Open—which triggers the next flow.
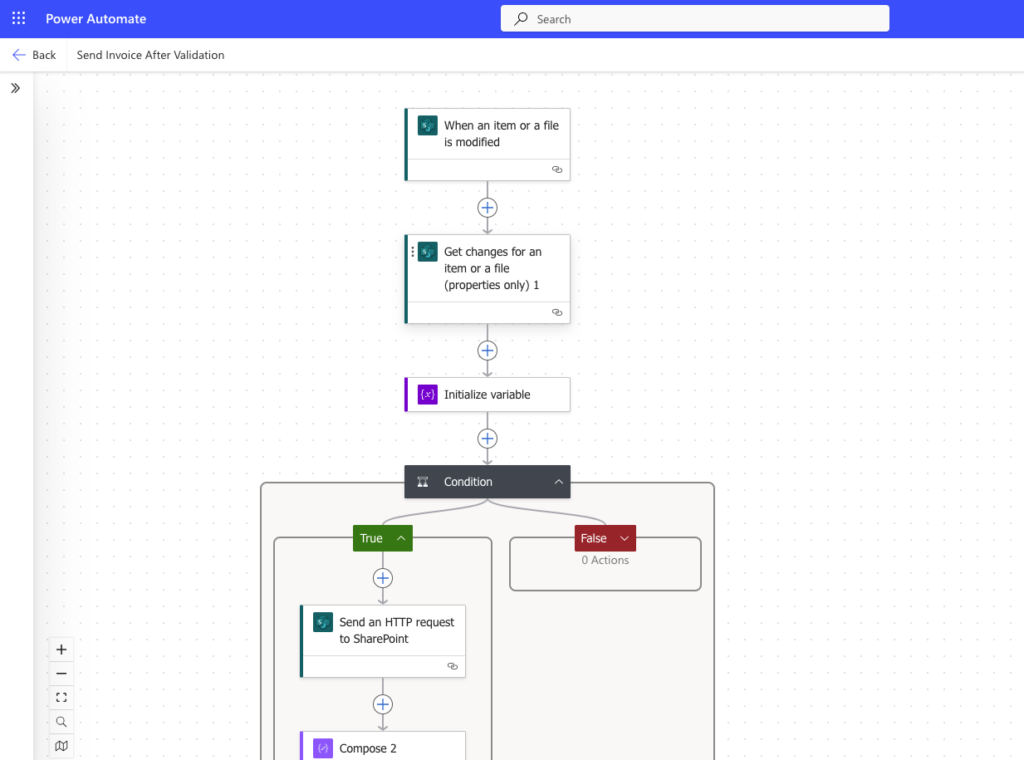
2️⃣ Send Invoice After Validation
- When status changes from “Waiting Validation” to “Open”, the flow:
🔹 Looks up the “ReceiveInvoice” contact from the Contacts List.
🔹 Sends the invoice via email to the client contact + CCs me.
🔹 Includes the invoice PDF, due date, and total amount in the email body.
3️⃣ Check Overdue Invoices (Daily Process)
- Runs every morning to check if an invoice is past due but unpaid.
- If overdue, it:
🔹 Updates status to “Overdue”.
🔹 Sends me an email notification.
4️⃣ Send Invoice Reminder
- I manually click the “Send Reminder” button in the Invoices List.
- Before sending the email, the flow sends me an approval request to prevent mistakes.
- Once I approve, it:
🔹 Looks up the “ReceiveInvoice” contact.
🔹 Sends a friendly overdue payment reminder to clients via email.
5️⃣ Add Receipt to Invoice
- When I upload a payment receipt PDF, the flow:
🔹 Matches the Invoice ID and Client ID from the filename.
🔹 Updates the Invoices List with “Paid” status and payment date.
🔹 Sends the receipt to the client automatically.
Next Steps for Improvement:
- Migrate invoice creation from Wave to Power Apps.
- Automate client onboarding: When I add a new client, automatically create Teams channels, SharePoint folders, and automation flows.
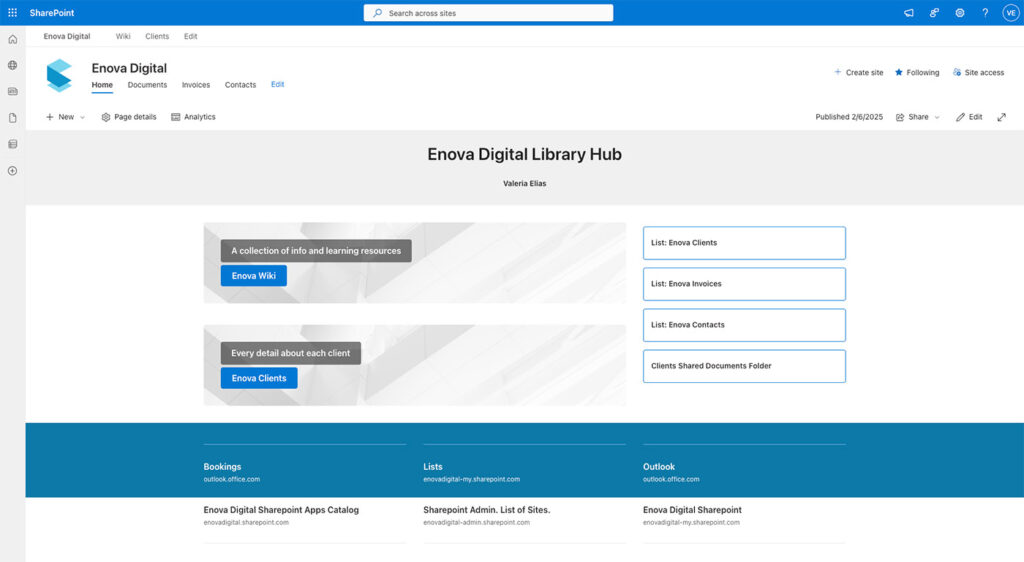
Microsoft SharePoint: My Freelance Portal
Purpose: A centralized hub for managing client data, invoices, and knowledge resources.
How I Organized It
Enova Hub (Main SharePoint Site)
- Clients Subsite – Each client has a page with project notes.
- Wiki Subsite – A categorized knowledge base for learning resources.
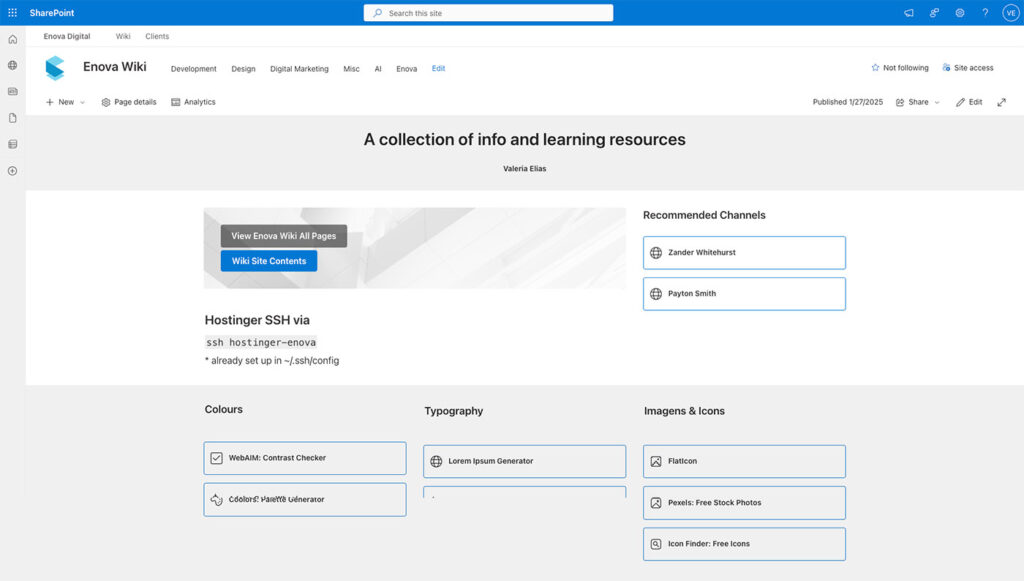
How I Structured the Wiki
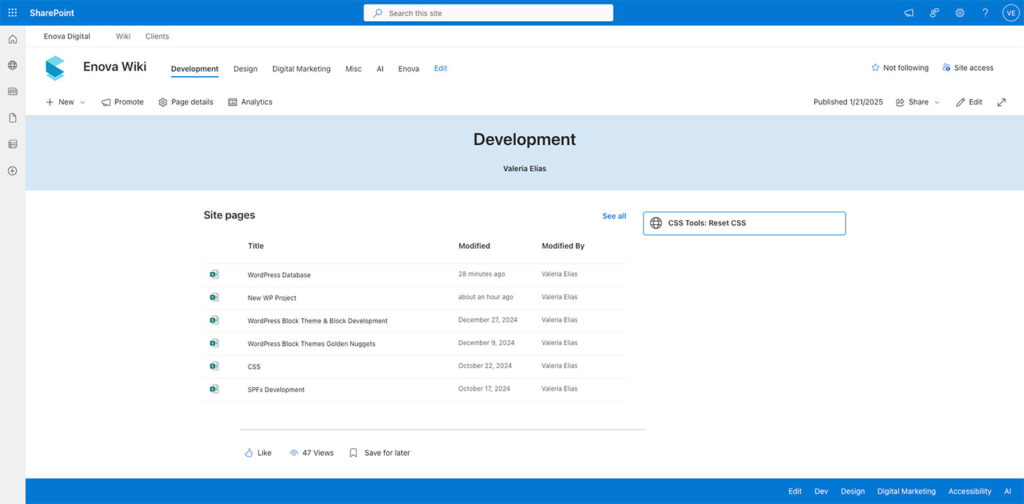
- Five Categories:
- Development
- Design
- Digital Marketing
- Miscellaneous
- AI
- Since SharePoint doesn’t support page hierarchy, I use:
- A “Category Type” column in the Site Pages Library.
- A Highlighted Content web part to filter pages by category.
- Color-coded category landing pages for quick navigation.
Final Thoughts: My Microsoft 365 Workflow in Action
Why I Built This System
I started exploring Microsoft 365 tools not only to organize my freelance work but also to learn more about Power Platform automation. As part of this, I took a Canvas Power Apps and Microsoft Lists course by Pragmatic Works, which gave me an introduction to building low-code solutions.
This setup has helped me:
- Automate administrative tasks.
- Keep client data structured.
- Reduce errors and delays in invoice and payment workflows.
- Expand my Power Platform knowledge with hands-on experience.
This isn’t just about using Microsoft tools—it’s about problem-solving, automation, and continuously improving workflows.
Want to know more about my work? Check out my About Me page.
Leave a Reply